So, you’ve decided to convert your loft space – an exciting decision that can transform your home and significantly increase its value. But where do you start? Let’s walk through the step-by-step process with practical examples to help you kick-start your loft conversion project.
Assess Your Loft Space
Your first task is to evaluate the suitability of your loft for conversion. Measure the head height – ideally, it should be at least 2.2m. Also, consider the pitch of the roof and the footprint of the loft.
Example: The Browns assessed their loft and found the head height to be 2.3m, making it suitable for a loft conversion.
Identify the Type of Loft Conversion
Select the most appropriate style of loft conversion based on the features of your loft and local laws. This might be a mansard, hip-to-gable, dormer, or a straightforward roof light conversion.
Example: The Martins chose a hip-to-gable conversion to make the most of their available space because their roof had sloping sides.
Secure Permissions
To find out if you need planning approval, contact your local planning authority. Keep in mind that all loft conversions must adhere to building laws.
Example: The Johnsons discovered that they needed to apply for planning permission before beginning their dormer loft conversion because their house was in a conservation district.
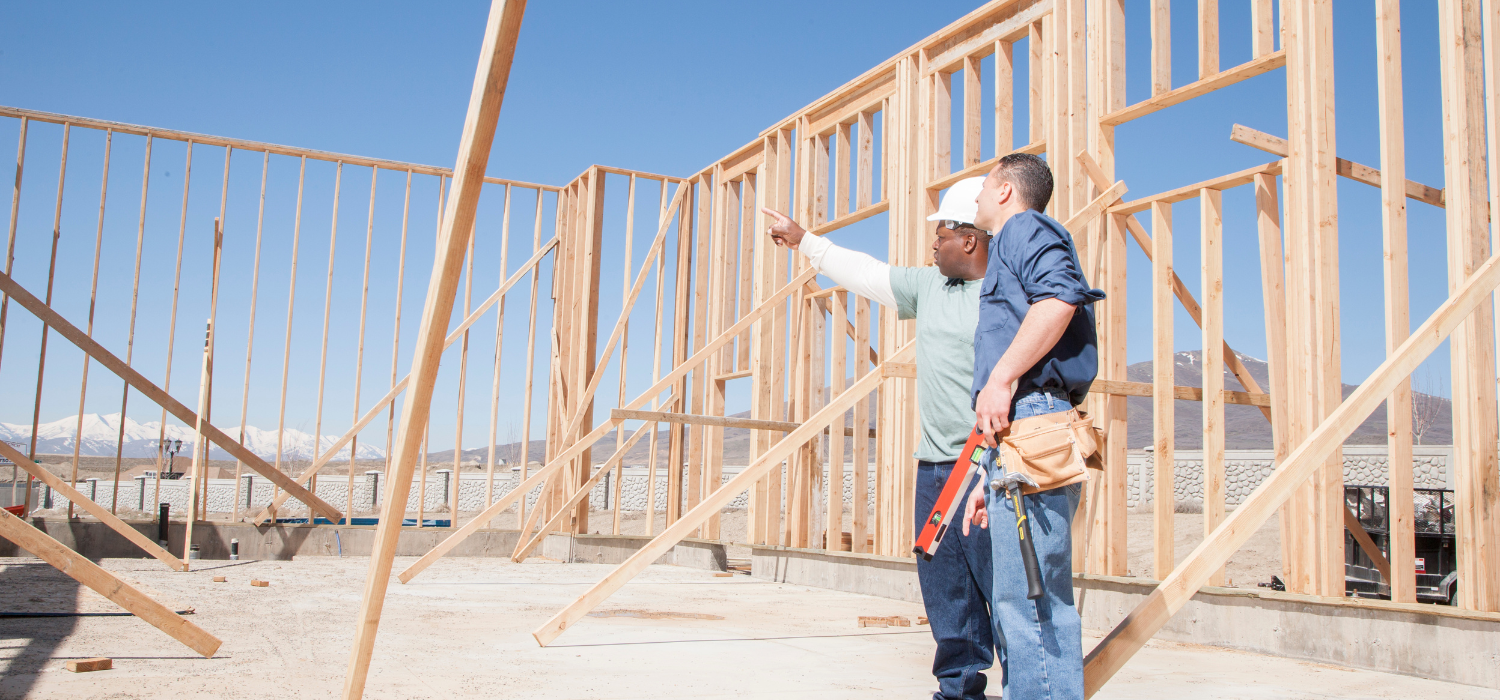
Hire Professionals
Look for a group of experts to help you with your loft conversion job. A structural engineer will create structural calculations, an architect or architectural designer will create the plans, and a builder will execute the job.
Example: To create their designs, the Smiths recruited a local architect with knowledge of loft conversions. Additionally, they picked a building company after reading favorable online reviews and hired a structural engineer who came highly recommended by their architect.
Plan Your Budget
Determine how much it will cost to convert your loft. Take into account all expenditures, including the price of supplies, labor, and any additional charges that might not be readily apparent, such as party wall or planning permit fees.
Example: The Greens made a thorough spending plan for their loft conversion. They set aside money for the building project’s construction expenditures, architect fees, building control fees, and a contingency budget for unforeseen expenses.
Designing Your Space
Create a floor plan for your future loft. For the most natural light and ventilation, think about where you’ll put the windows, and consider how you’ll use the area to decide where to add amenities like built-in storage or en-suite bathrooms.
Example:The main bedroom in the Walkers’ loft has an en suite bathroom. To increase natural light, they chose to add skylights, and they also had built-in wardrobes under the eaves planned.
Begin Construction
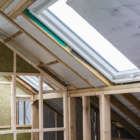
Construction might start after the final stages of planning and design. Structure-related work is normally done first, then insulation, window installation, interior work like plastering, installing electrics and plumbing, and decorating.
Example: The floor joists of the Taylors’ loft were first reinforced by the builders. After this was finished, they insulated the area, put in the windows, and finished the interior work. The roof was then trimmed to match the dormer.
Although starting a loft conversion can seem intimidating, breaking it down into simple phases can assist. Each stage is essential to ensure a smooth transition from an empty loft to a useful and valuable addition to your house.
You’re ready to begin your loft conversion journey, but you need some professional advice. In addition to initial consultations and design, our skilled team also provides construction and finishing services. Get in contact with us right away for a free estimate so we can turn your fantasy loft into a reality.